 ENEnglish
 VITiếng Việt
 ZH中文
 KO한국어
 JA日本語
 FRFrançais
 ITItaliano
 PTPortuguês
 ESEspañol
 HEעברית
 ARالعربية

Before the steel arrives
A pre-engineered building goes up quickly because every piece is fabricated to fit – but only if the foundations are right and the site is ready. Before erection the erector should have the approved erection drawings, the anchor bolt setting plan, a lifting plan, an erection method statement and a delivery schedule matched to the packing lists. Crane access, laydown areas, ground bearing for cranes and elevating work platforms, and storage for cladding must be planned.
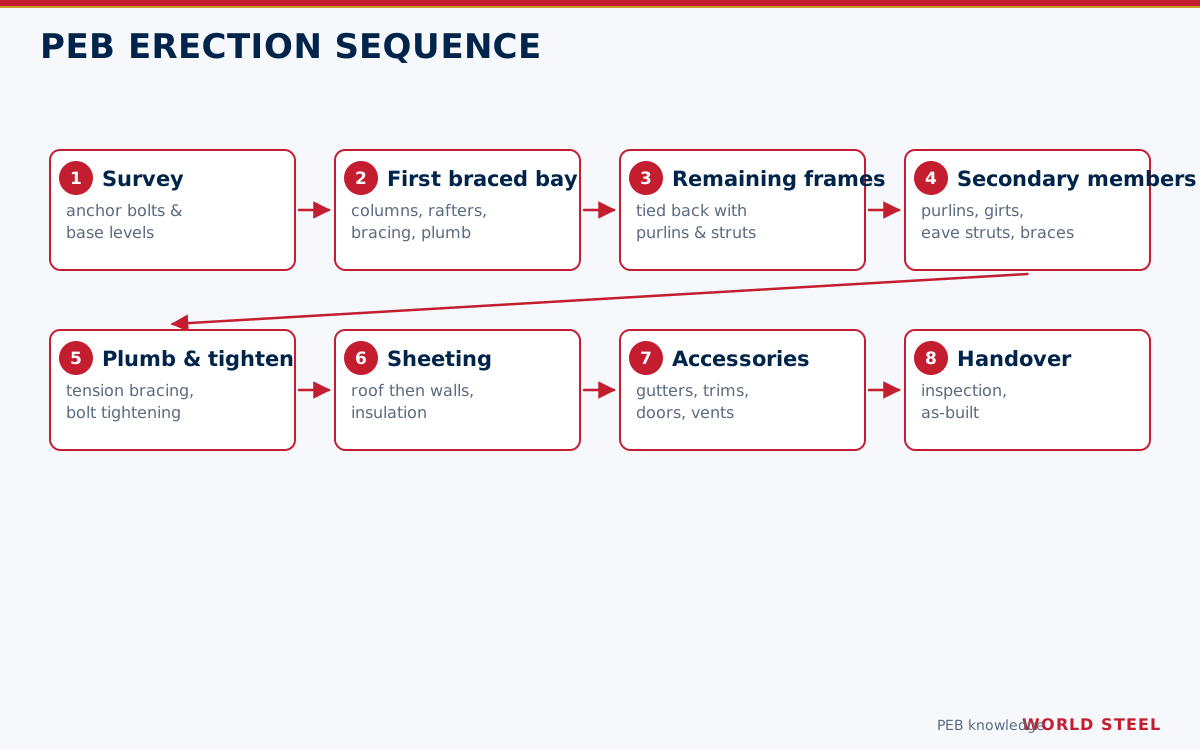
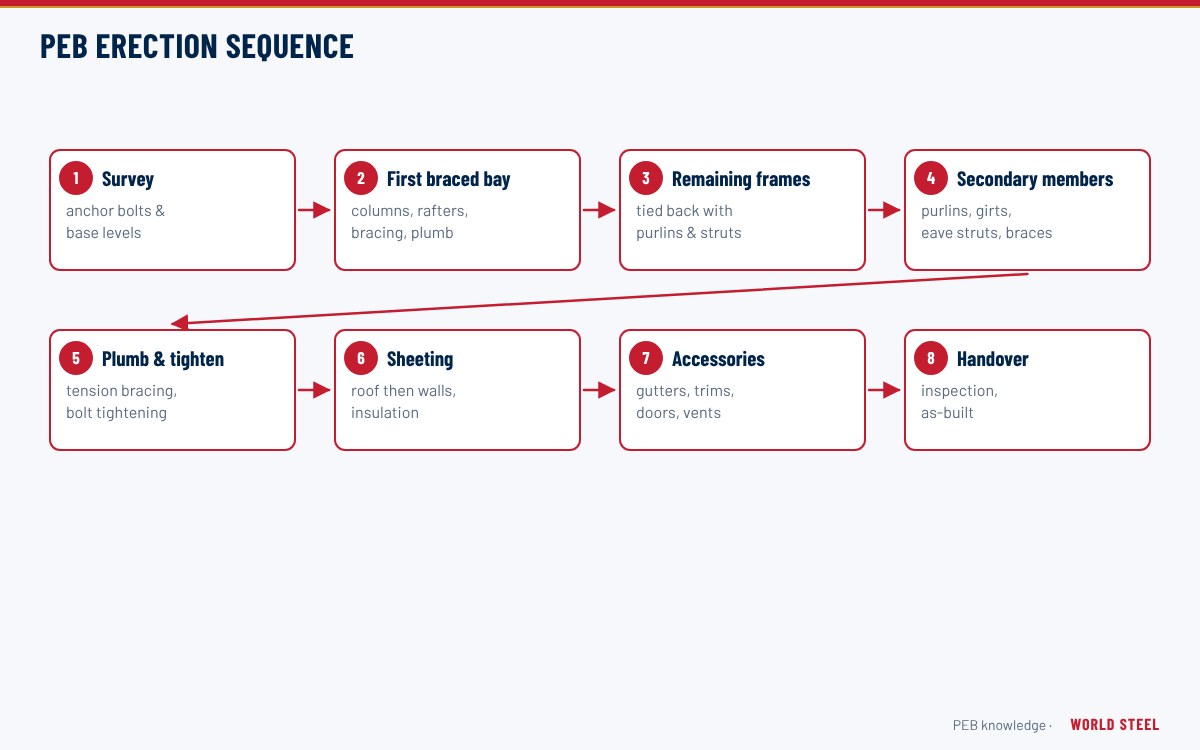
The sequence step by step
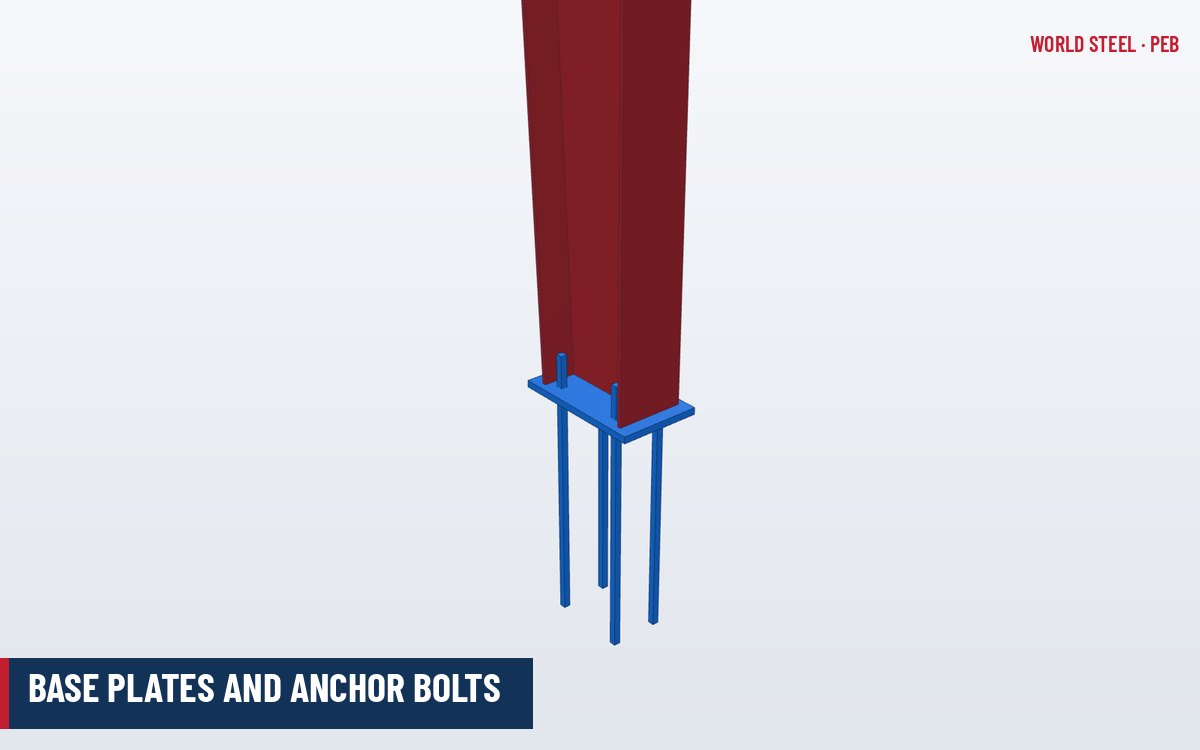
- Survey anchor bolts and foundations. Check grid lines, anchor bolt positions, projections and top-of-concrete or grout levels against the anchor bolt plan before any steel is set. Correcting a misplaced anchor group now costs hours; discovering it with a column in the air costs days. See base plates and anchor bolts.
- Set leveling nuts or shims to the base plate elevation, ready for grouting later.
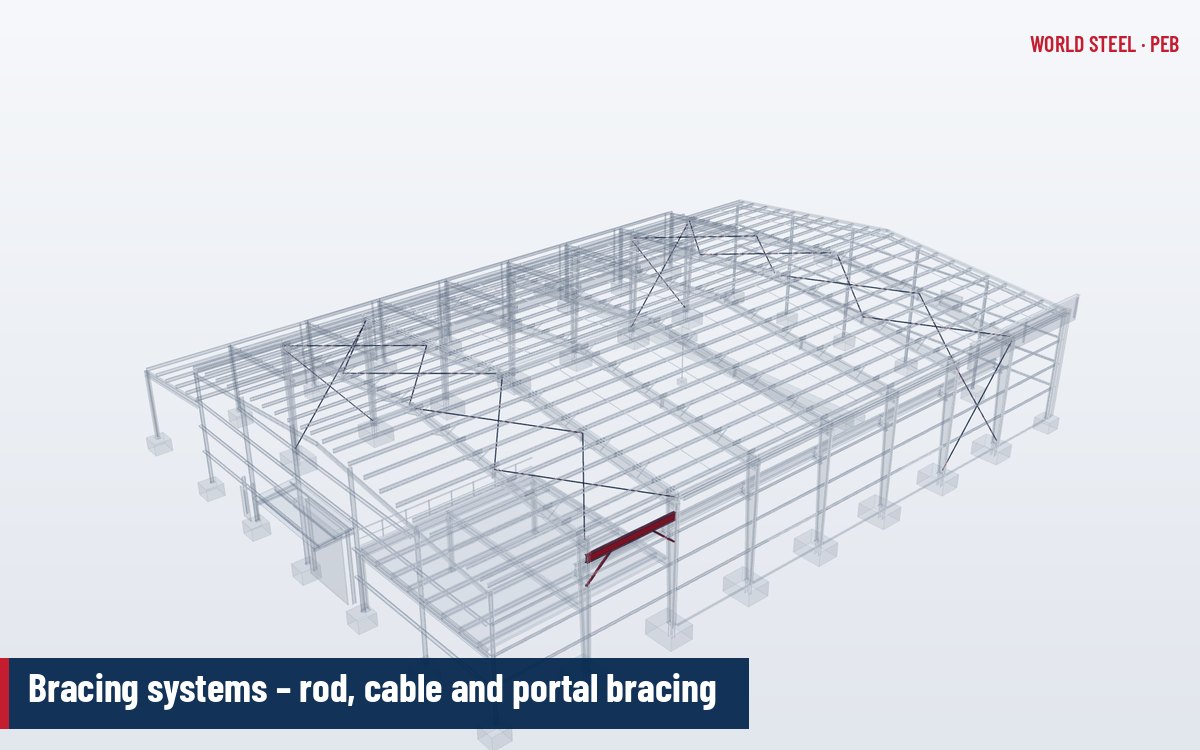
- Erect the first braced bay. Stand the columns of the two frames that contain the permanent bracing (or a bay designated for temporary bracing), connect the rafters, install eave struts and some purlins, and install the roof and wall bracing. Plumb and square this bay carefully – it is the reference for the whole building.
- Erect the remaining frames. Add frames one by one, each connected to the braced bay by purlins, girts and eave struts as it goes up. Temporary guying is kept until enough secondary members connect it to the stable bay.
- Install secondary members. Complete purlins, girts, flange braces, sag rods and endwall framing. Flange braces are important: without them the rafter and column inner flanges are unrestrained.
- Plumb, line and tension bracing. Plumb columns and align rafters, then tension rod or cable bracing so that the frame is held in position; check that the building is square on plan by comparing diagonals.
- Tighten bolts to snug-tight or pretension as specified on the drawings and inspect them.
- Grout base plates once the structure is plumb and the frames are fully bolted.
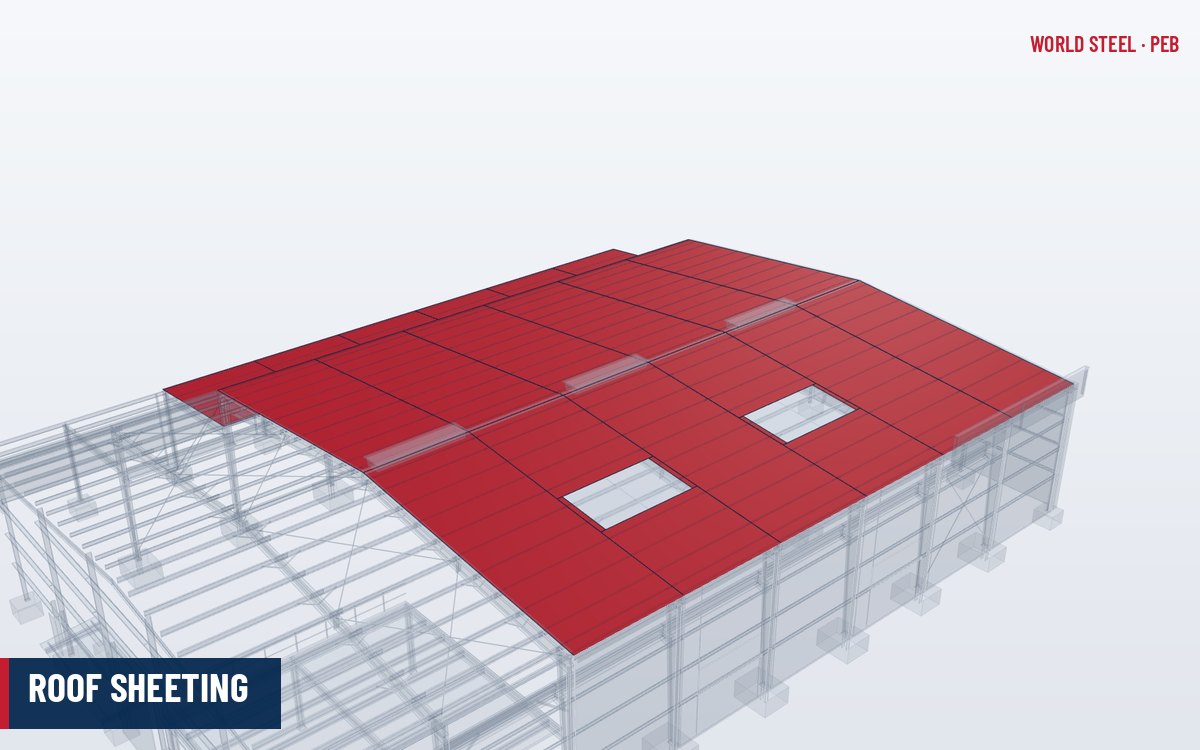
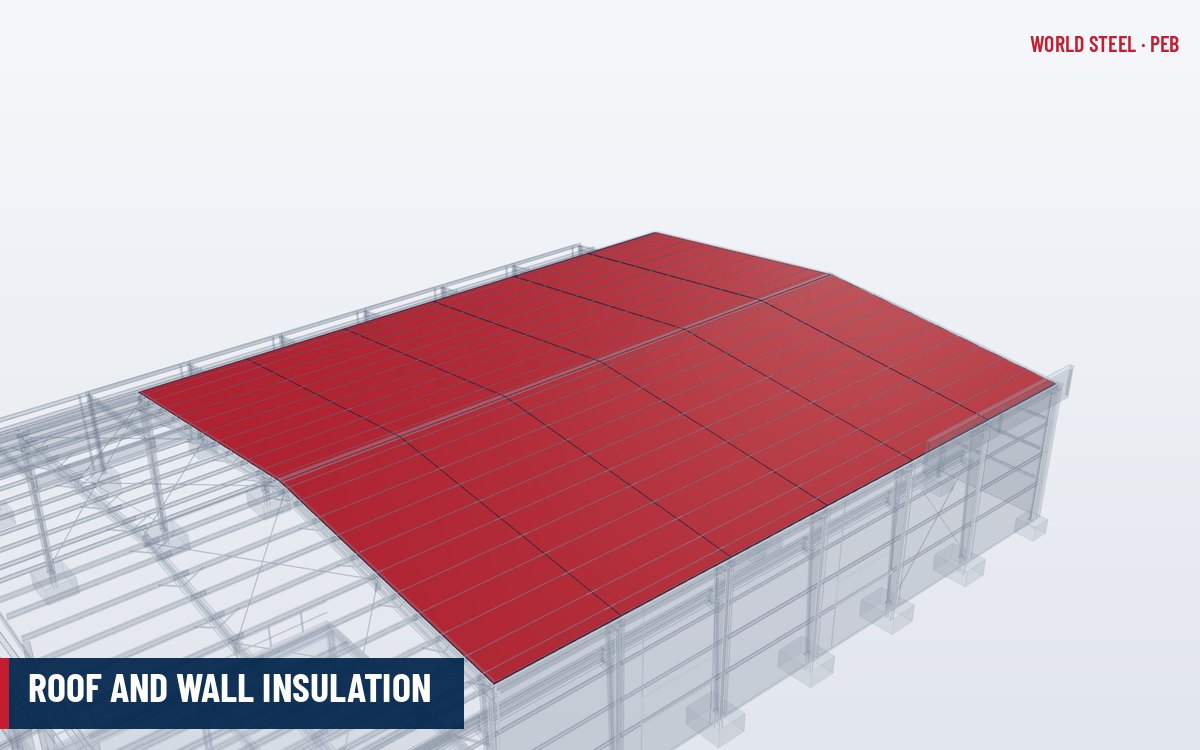
- Install sheeting – usually walls before or with the roof depending on wind exposure – with insulation, skylights and sealants.
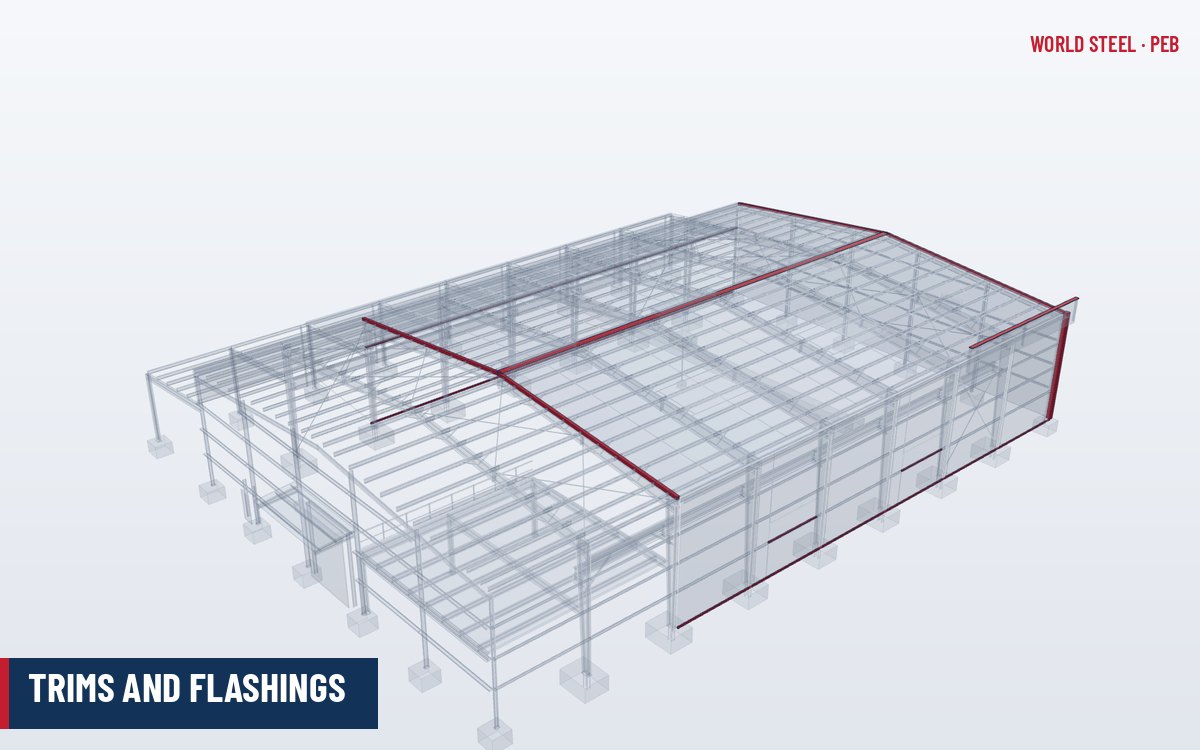
- Install accessories – gutters, downspouts, trims and flashings, ventilators, doors and windows.
Variations by building type
| System | Erection note |
|---|---|
| Clear span | Long rafters are often assembled on the ground and lifted in one or two pieces with a spreader beam; a two-crane lift may be needed. |
| Multi-span | Interior columns are set first; rafters are connected over them, starting from the braced bay. |
| Crane building | Crane brackets and runway beams are installed after frames are plumb; runway alignment is surveyed before the crane is installed. |
| Mezzanine | Mezzanine framing is erected with or after the main frames, before the deck is placed. |
System-specific details are covered in the frame system articles, for example crane buildings.
Cladding, insulation and accessories on site
The envelope usually takes longer to install than the frames, and most leaks and appearance complaints are created during this stage. Good practice for each package:
| Package | Key installation points |
|---|---|
| Roof sheeting | Start at the end away from the prevailing wind so side laps face away from it; keep sheets square to the eave by checking every few sheets; fix to the pattern for each wind zone; clean swarf daily |
| Standing seam roof | Fix the first panel square, install clips with correct fixed and sliding positions, seam as work proceeds, and close ends the same day so wind cannot lift open panels |
| Insulation | Lay only as much blanket as can be covered by sheeting the same day; tape facing joints; keep the vapour retarder on the warm side |
| Translucent sheets | Install safety mesh first; pre-drill oversized holes; never step on the sheet |
| Wall sheeting | Install base trim and framed openings first; keep sheets plumb; fit foam closures at base and eave |
| Trims and gutters | Lap in the direction of water flow, seal with butyl mastic, rivet or stitch at the specified spacing; test-fill gutters before handover |
| Doors, louvers, ventilators | Fix to framing, not to sheeting; check operation and seals; flash heads and sills |
Sheets and panels act as sails during handling: stop lifting and laying cladding when wind exceeds the limit in the method statement, and secure unfixed sheets at the end of each shift. See roof sheeting and trims and flashings for detailing rules.
Roles and responsibilities
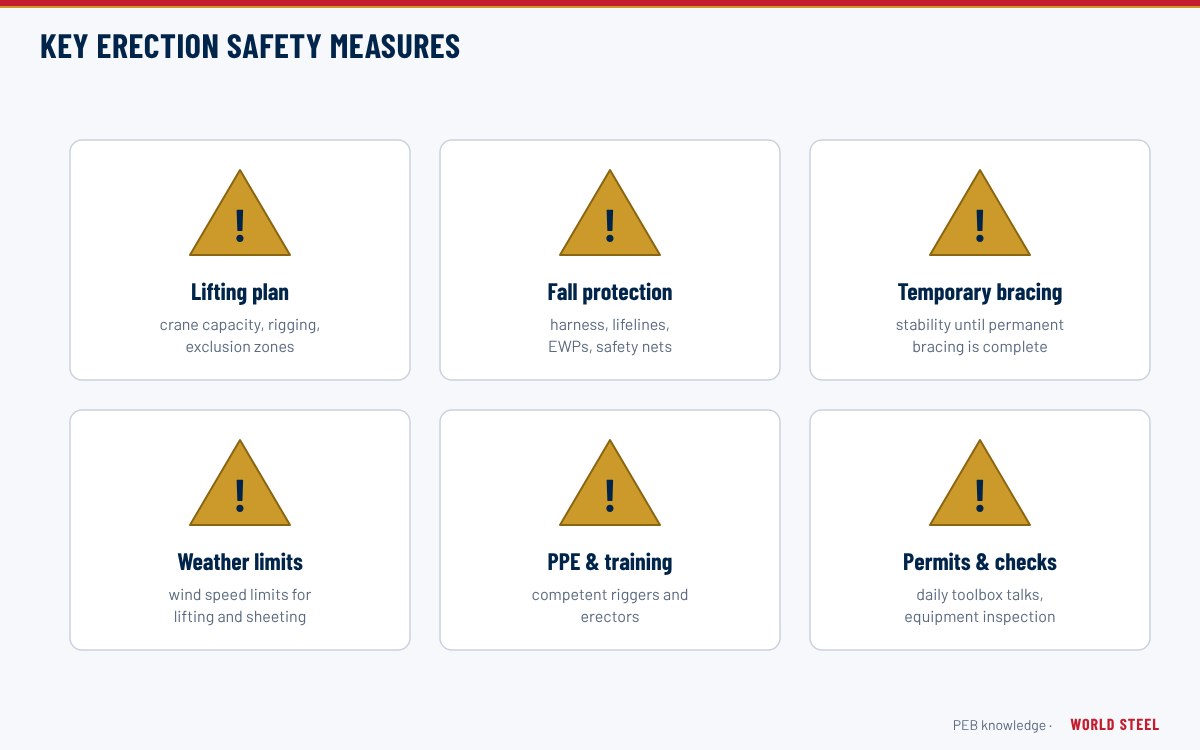
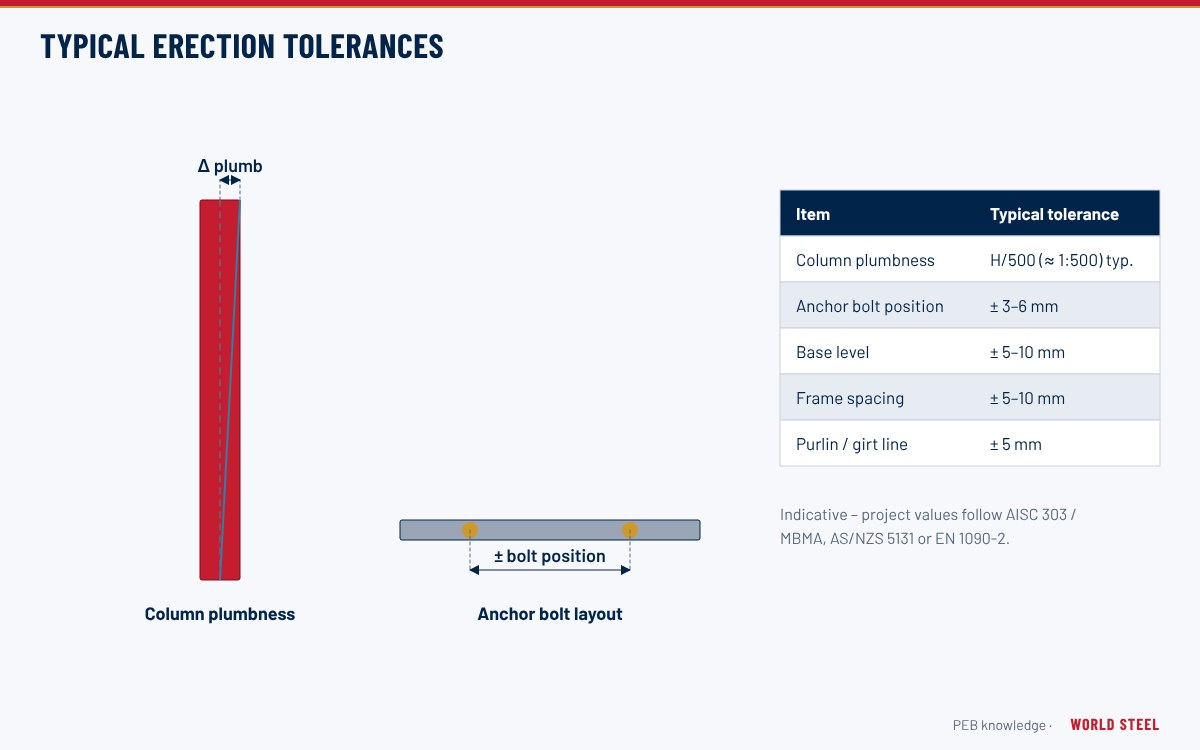
Under the MBMA common industry practices and AISC 303, the erector is responsible for the means and methods of erection, including temporary bracing and the stability of the partially erected structure, while the building manufacturer supplies the erection drawings and, on request, guidance. In Australia AS/NZS 5131 and in Europe EN 1090-2 require an erection method statement that addresses stability at every stage. The principles are covered in site safety during steel erection, and the accuracy to be achieved in erection tolerances.
WSC erection support
World Steel provides erection drawings, anchor bolt plans, packing lists by erection sequence and, through its erection service, supervision by experienced engineers or full erection in selected markets. See erection and erection supervision.
Never remove temporary bracing until permanent bracing, secondary members and connections in the bay are complete and the engineer of record or erection engineer confirms the structure is stable.
Normas por región
| Región | Norma | Alcance |
|---|---|---|
 United States |
AISC 303-22 / MBMA MBSM 2018 | Code of standard practice; common industry practices for metal buildings |
| United States |
OSHA 29 CFR 1926 Subpart R | Steel erection safety regulation |
 Canada |
CSA S16-19 | Design of steel structures – erection requirements |
 Australia / NZ |
AS/NZS 5131:2016 | Structural steelwork – erection |
 Europe |
EN 1090-2 | Execution of steel structures – erection |
Preguntas frecuentes
Why is the first braced bay so important?
It is the only part of the structure that is stable on its own. All other frames are connected to it, so errors in its plumbness or squareness are carried through the building.
When should base plates be grouted?
After the frames are plumbed, aligned and fully bolted, and before significant loads such as cladding or cranes are applied, as directed by the erection documents.
Should walls or roof be sheeted first?
It depends on site conditions and the erector's method. Wall sheeting first can help stability, but large unclad wall areas or partially clad buildings may attract high wind loads, so the sequence should be part of the method statement.