 ENEnglish
 VITiếng Việt
 ZH中文
 KO한국어
 JA日本語
 FRFrançais
 ITItaliano
 PTPortuguês
 ESEspañol
 HEעברית
 ARالعربية

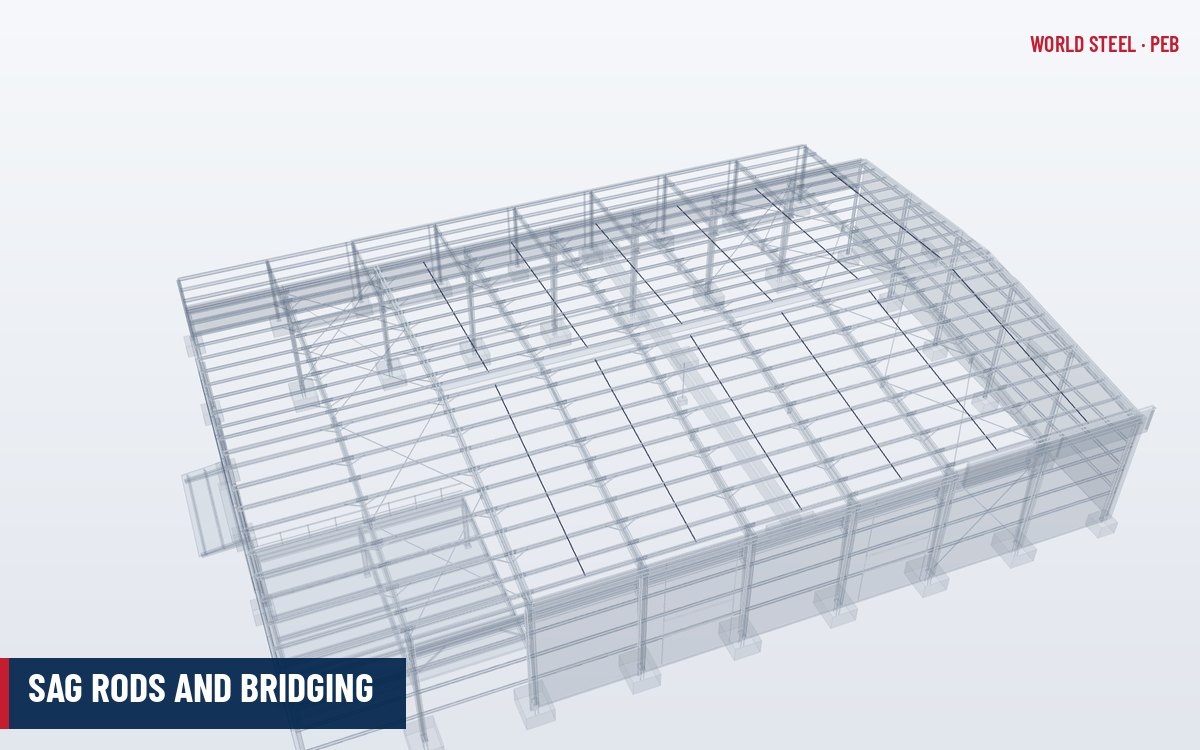
Definition and function
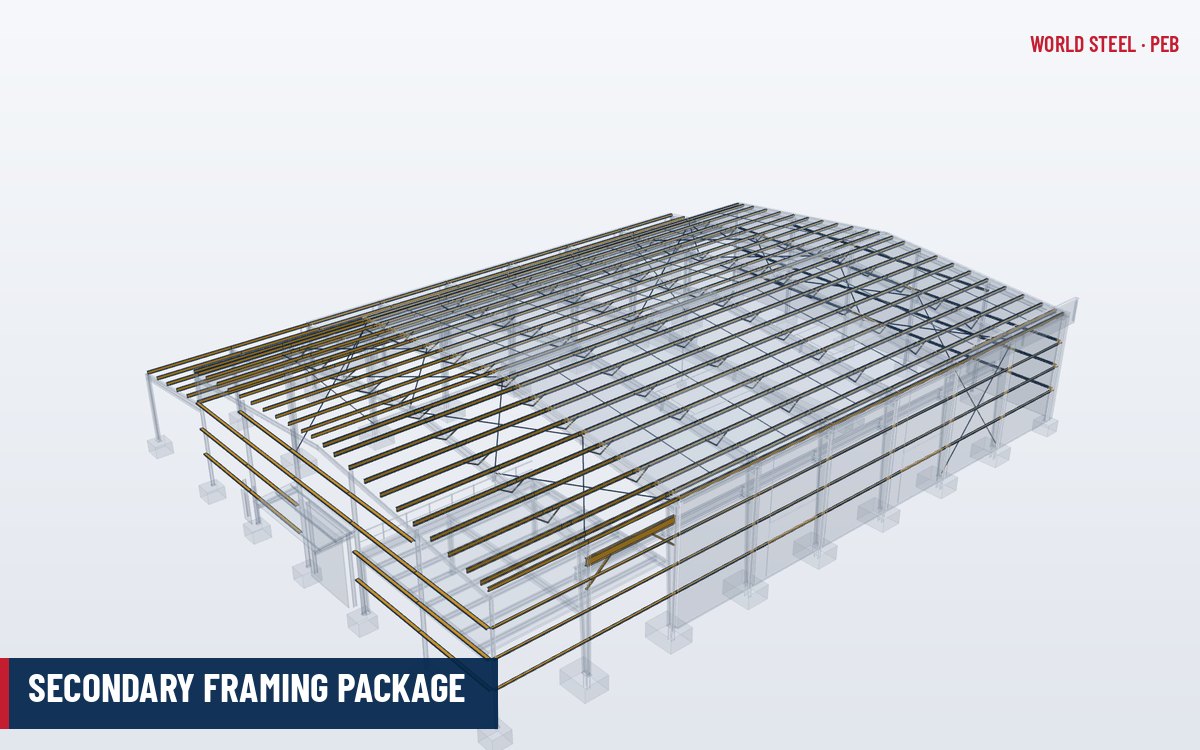
Sag rods are small-diameter threaded rods, and bridging is short cold-formed or angle members, installed between adjacent purlins or girts within a span. They have three purposes:
- to hold purlins and girts straight and at the correct spacing during erection and sheeting;
- to support girts and sloping purlins against their weak-axis load – the self-weight of wall cladding and the downslope component of roof load;
- to restrain the free flange under wind uplift or suction, reducing the unbraced length and increasing capacity.
Role in the load path
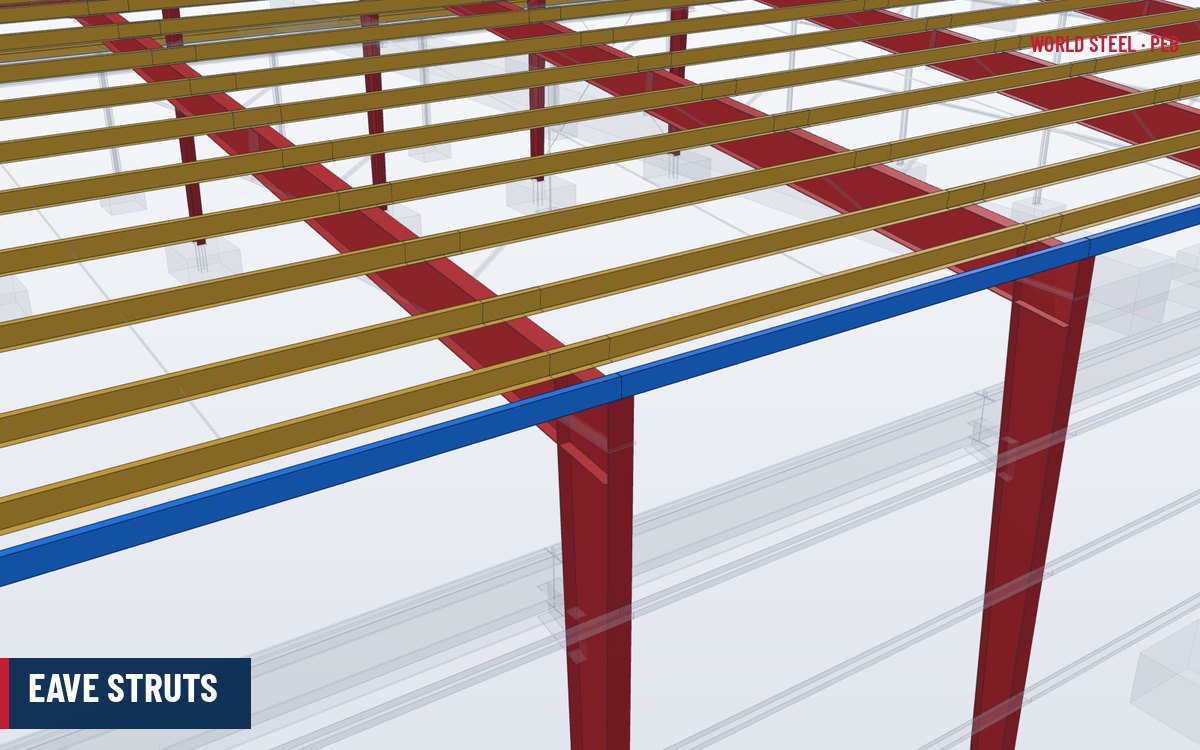
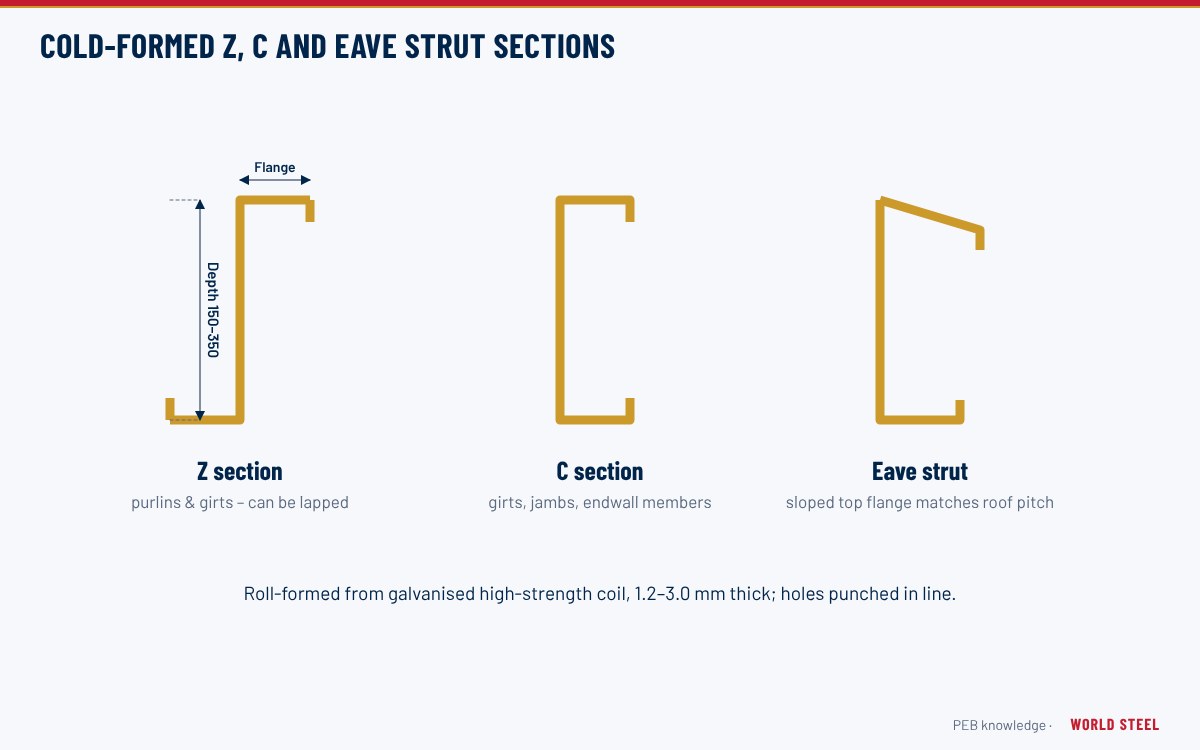
Cold-formed Z and C sections are efficient about their strong axis but weak and prone to twisting about their minor axis. In walls, sag rods transfer the weight of the cladding from each girt up to the eave strut and into the frame. On roofs, rods or bridging collect the downslope force from each purlin and anchor it at the ridge (with tie rods across the ridge) or at the eave strut. Under uplift, the restraint provided at rod or bridging lines reduces lateral-torsional buckling of the bottom flange.
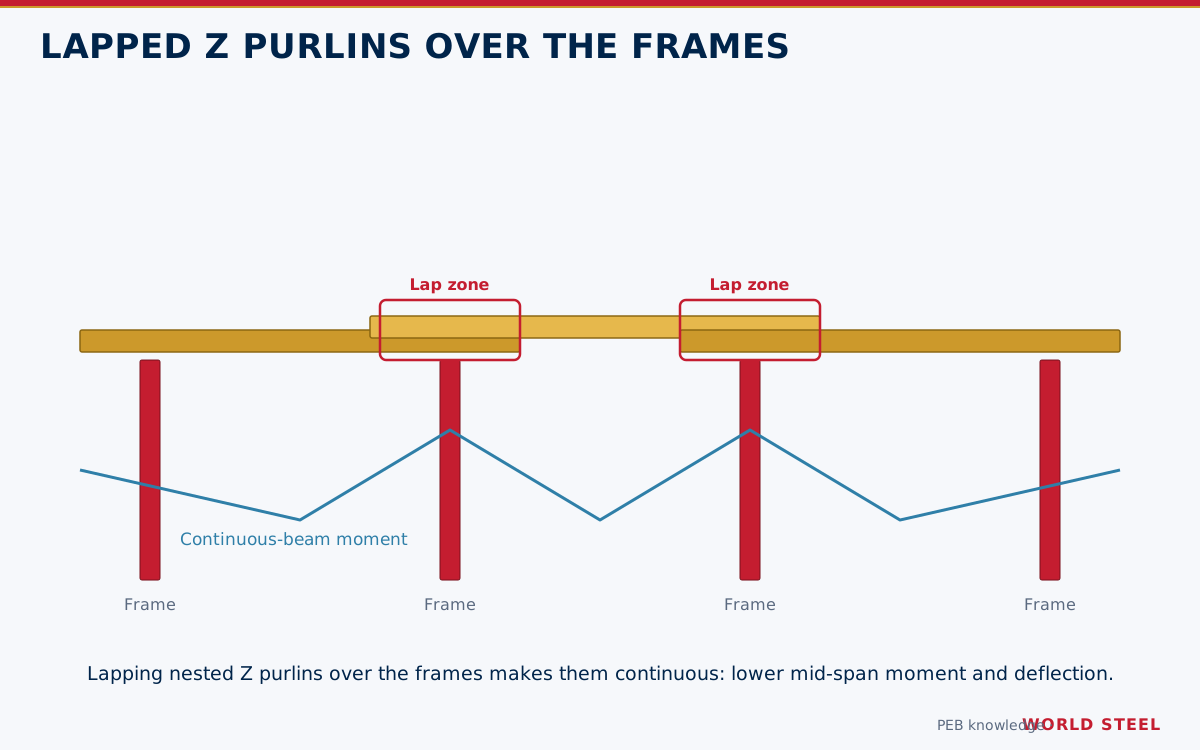
Typical sizes and layouts
| Item | Typical |
|---|---|
| Sag rod diameter | 10–16 mm (M10–M16), threaded ends with nuts |
| Bridging | Cold-formed C or angle, bolted between purlins |
| Lines per span | 1 line for spans up to about 6–7 m, 2 lines (third points) for longer spans |
| Ridge detail | Diagonal tie rods or bridging across the ridge to balance forces |
| Material | Galvanised mild steel rod; galvanised coil for bridging |
On walls, sag rods normally run from the lowest girt up to the eave strut in each bay, with diagonal rods at the top of the wall where the eave strut cannot carry the cumulative load alone. On roofs with a single slope, the full downslope force is anchored at the high or low eave rather than balanced across a ridge.
Some systems use proprietary bridging clips that bolt between purlins and provide both tension and compression restraint; others combine rod sag lines with angle anti-roll braces at eaves and ridge.
| Device | Action | Typical use |
|---|---|---|
| Sag rod | Tension only | Girts hung from the eave strut; roof purlins on through-fastened roofs |
| Channel or angle bridging | Tension and compression | Standing seam roofs, long spans, high uplift |
| Proprietary bolted bridging | Tension and compression with a fixed spacing | Fast erection with consistent purlin spacing |
| Anti-roll clips or braces | Resist rotation of the purlin at the support | Deep purlins, steep slopes, high uplift |
| Diagonal ties | Transfer accumulated load to the frame | Top of walls, ridge and high eave of single-slope roofs |
| Base angle | Supports the bottom edge of the wall sheeting | Wall base; does not replace sag rods for girts |
Design considerations
- Number and position of restraint lines are part of the purlin design: AISI S100, AS/NZS 4600:2018 and EN 1993-1-3 capacity tables assume particular restraint layouts.
- Downslope forces accumulate along a roof slope; the anchorage at ridge or eave must be sized for the total.
- Steeper roofs and Z sections rolling downslope need stronger restraint than shallow roofs.
- Girts in tall walls carry significant cumulative cladding weight to the top rod.
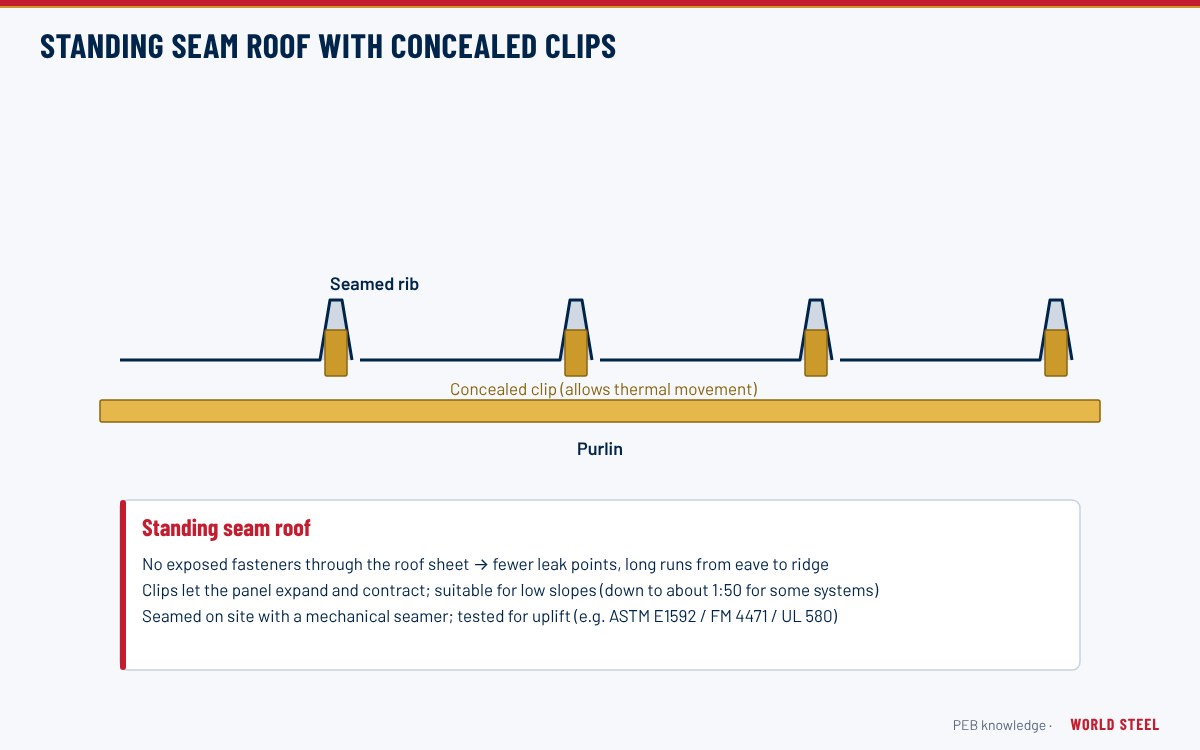
- Standing seam roofs give less lateral restraint to purlins than through-fastened sheeting, so restraint lines are more critical (see standing seam roof systems).
Fabrication and installation
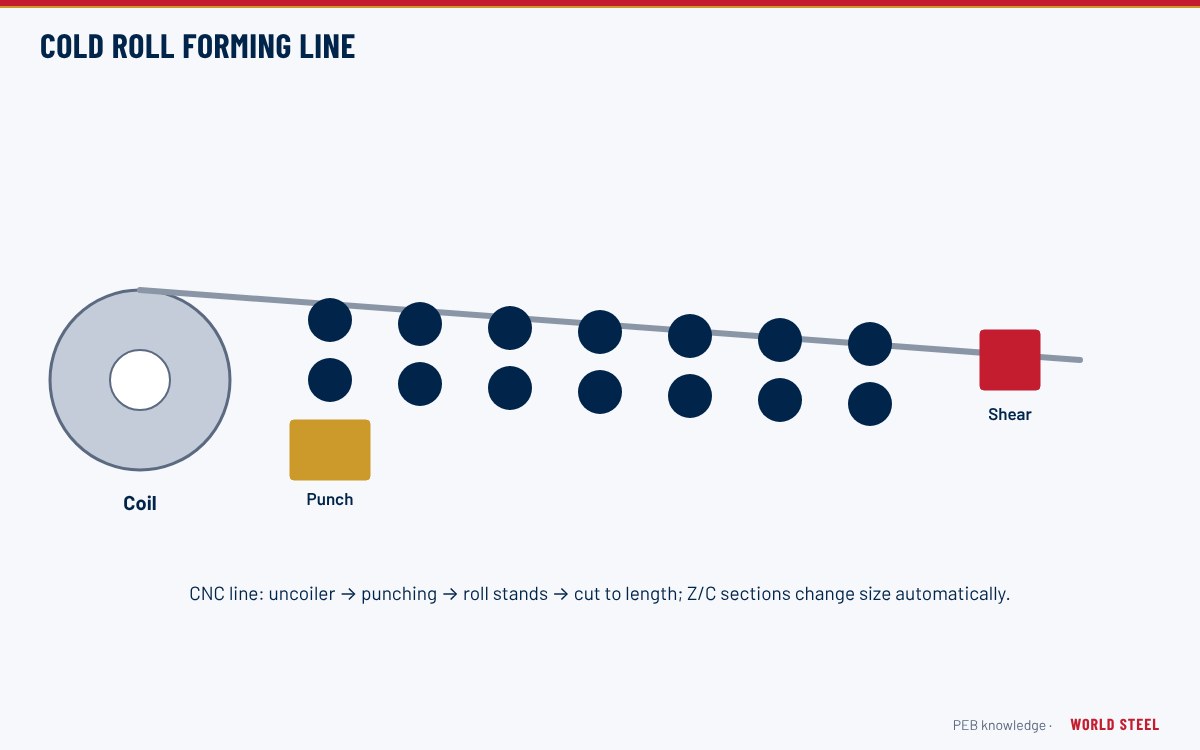
World Steel punches sag rod holes in purlins and girts during roll forming, cuts and threads rods to length, and bundles them by bay. On site:
- Install purlins or girts on their cleats.
- Insert sag rods or bridging and tighten nuts to bring members to line and spacing – not so tight that they bow.
- Check purlin spacing with a gauge before fastening sheets.
- Complete ridge ties and eave anchors.
Sag rods help create a safe, stable roof structure during erection, but they do not make purlins a safe walking surface; follow site safety rules.
Common mistakes and quality checks
- Sag rods left loose, so girts sag and wall sheets show waves.
- Over-tightened rods bowing purlins.
- Missing ridge ties, allowing purlins to roll downslope.
- Rods installed only in some bays.
Tiêu chuẩn theo khu vực
| Khu vực | Tiêu chuẩn | Phạm vi |
|---|---|---|
 United States |
AISI S100-16 (2020) | Bracing of cold-formed members |
 Canada |
CSA S136-16 | Bracing of cold-formed members |
 Australia / NZ |
AS/NZS 4600:2018 | Cold-formed steel structures |
 Europe |
EN 1993-1-3 | Purlins restrained by sheeting and bracing |
Câu hỏi thường gặp
Are sag rods structural?
Yes. They support girts against cladding weight and restrain purlin and girt flanges; purlin capacities often depend on them.
How many sag rod lines are needed?
Typically one line for shorter spans and two lines at third points for longer spans, as specified by the design.
What is the difference between sag rods and bridging?
Sag rods are threaded rods working in tension; bridging uses short members that can work in tension and compression and also hold purlin spacing.